The Ultimate Guide to Filing a Roofing Insurance Claim Successfully
Dealing with roof damage is stressful enough—navigating the insurance process shouldn't add to the headache. Whether your roof suffered from hail, wind, or storm damage, filing a successful insurance claim can make all the difference in how quickly and affordably your home is repaired. This guide will walk you through the key steps to ensure you get the coverage you deserve without unnecessary delays or complications.
Step 1: Assess the Damage Immediately
As soon as it’s safe, inspect your roof or have a professional do it. Look for visible signs of damage like missing shingles, dents, or leaks inside the home. Document everything with clear, dated photos and notes. The more evidence you collect, the stronger your claim will be. Don’t wait too long—some insurance policies have time limits for reporting damage.
Step 2: Review Your Homeowners Insurance Policy
Before contacting your insurance company, take the time to review your homeowners policy. Understand what types of roof damage are covered and any exclusions that may apply. For instance, some policies cover storm-related damage but exclude issues caused by poor maintenance or normal wear and tear. Knowing this upfront helps set realistic expectations and prepares you to answer questions during the claim process.
Step 3: Contact a Roofing Contractor for Inspection
Hiring a licensed roofing contractor to inspect the damage gives you an unbiased professional assessment. Most reputable contractors offer free inspections and will provide a written report and cost estimate. This can serve as vital documentation when dealing with your insurance adjuster. A contractor can also spot damage you may have missed and advocate on your behalf if the adjuster underestimates the repair costs.
Step 4: File the Claim with Your Insurance Company
Contact your insurance provider to initiate the claim. Be ready to provide details about the incident, the date it occurred, and the extent of the damage. Submit the documentation and estimates you’ve gathered. Once filed, your insurer will assign a claims adjuster to evaluate the damage. Make sure to schedule a time when both your contractor and the adjuster can be present for a joint inspection to avoid discrepancies.
Step 5: Work with the Adjuster and Follow Up
The insurance adjuster’s job is to determine the validity and value of your claim. Stay involved during their inspection and provide all the evidence you’ve collected. If your contractor is present, they can help answer technical questions and ensure nothing is overlooked. After the adjuster’s visit, follow up promptly to stay informed on the claim status and next steps. Keep all communication in writing when possible.
Step 6: Review the Settlement and Begin Repairs
Once the claim is approved, you’ll receive a settlement offer. Compare it with the contractor’s estimate to ensure it covers all necessary repairs. If there are discrepancies, your contractor can help negotiate with the insurer. After agreement, schedule the repairs quickly to prevent further damage or policy complications.
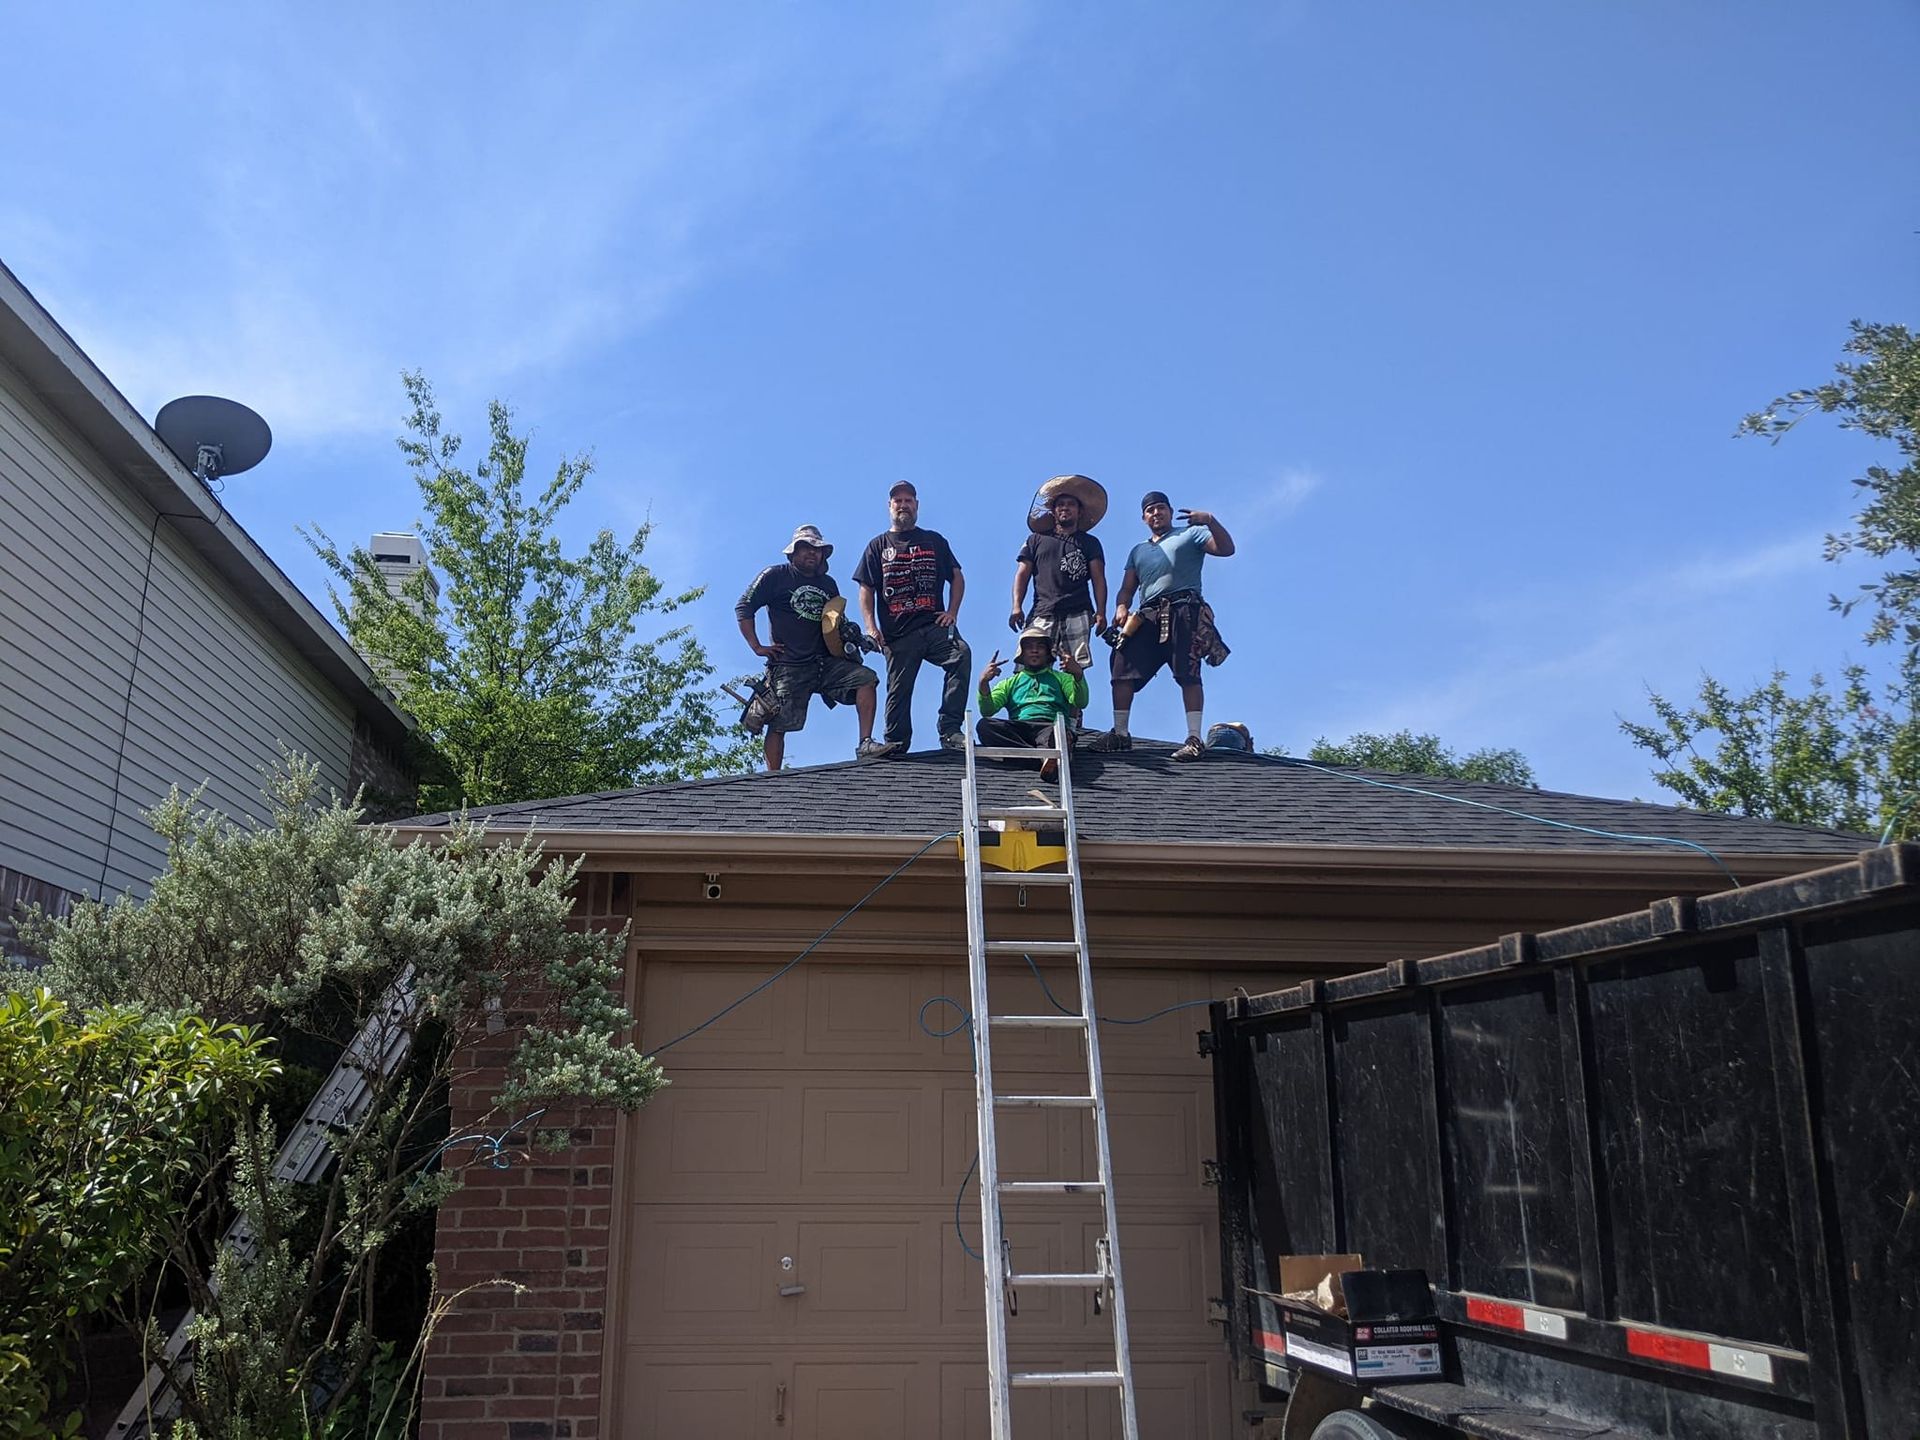
Filing a
roofing insurance claim can be complex, but having experienced professionals on your side makes the process smoother and more successful. At Performance 1 Roofing & Construction in Weatherford, TX, we’ve helped homeowners navigate claims and restore their roofs for over 25 years. From free inspections to working directly with adjusters, we take the stress off your shoulders. Contact us today to schedule your inspection and get expert help with your claim.